Ever looked around your dark, dungeon-like basement and thought, “This could actually be a cozy hangout—or even a bedroom”? You’re not alone. Tons of homeowners are turning their basements into real, livable spaces—and one upgrade makes all the difference: installing an egress window. This one change does more than just let in natural light (though that’s a huge win). It also turns your basement into a safe, code-compliant part of your home. In fact, most building codes require an egress window if you’re planning to use the basement as a bedroom or living space—because in an emergency, it’s your way out.
So, how does it all work? What does it cost? And what’s involved—besides digging a big hole in your foundation wall?
Let’s walk you through the entire egress window installation process—from the first shovel of dirt to the final watertight seal. Whether you’re just curious or ready to start your basement transformation, this guide will show you exactly what to expect.
What Is an Egress Window and Why Do You Need One?
An egress window is more than just a fancy term for a basement window. It’s a life-saver—literally.
According to building codes, any habitable basement (like a bedroom or living space) must have a window large enough for people to escape through in case of fire. That’s your egress window.
- Emergency exit in case of fire 🚨
- Brings in natural light ☀️
- Adds value to your home 💰
- Makes your home building code compliant 📏
Before You Start: Know the Local Building Code
Not all windows qualify as egress windows. To pass inspection, the window must meet specific size and location rules.
Here’s what you’ll typically need:
- Minimum opening size: 5.7 sq. ft.
- Minimum height: 24 inches
- Minimum width: 20 inches
- Maximum sill height: 44 inches from the floor
If you’re unsure whether your basement setup qualifies, a licensed building consultant can help. (General construction & Remodeling does just that.)
Tools You’ll Need for Installation
Getting ready to install an egress window? Here’s your DIY toolkit:
- Hammer drill
- Masonry bit
- Circular saw with masonry blade
- Sledgehammer
- Shovel
- Measuring tape
- Window unit
- Window well and cover
- Gravel (for drainage)
- Drain cap
- Silicone sealant
- Waterproofing membrane
If that sounds like a lot—don’t worry. Many homeowners choose professional help (and that’s where General Construction steps in).
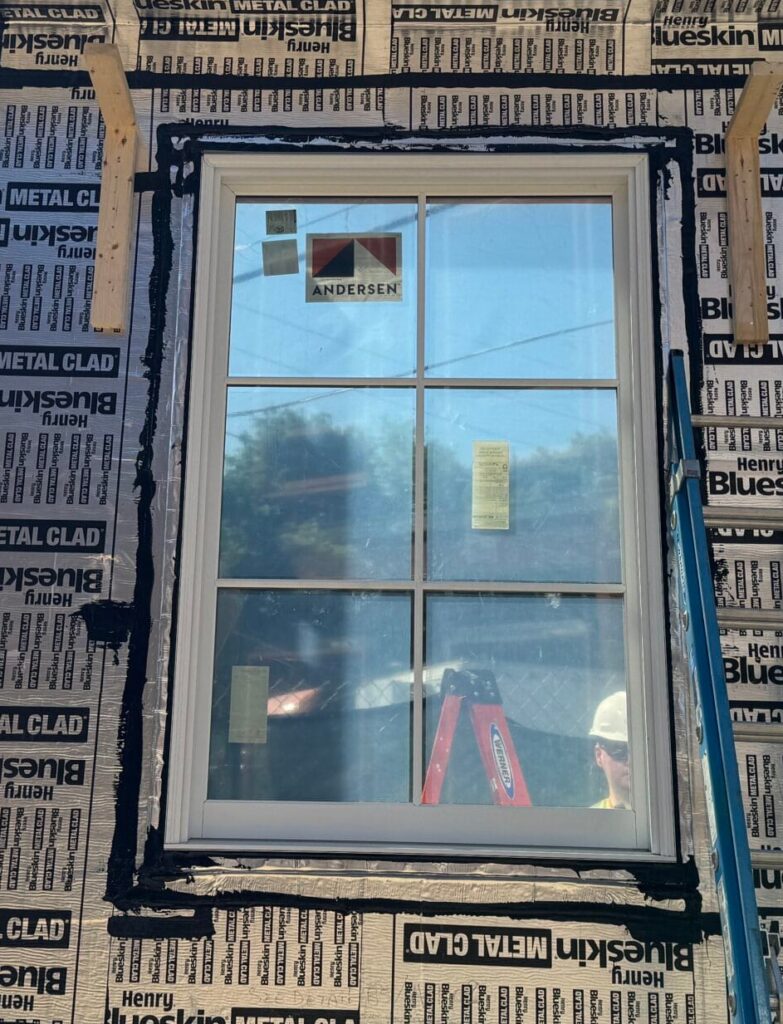
Step-by-Step: How to Install an Egress Window

Credit: brightideaegress.com
Installing an egress window isn’t just about cutting a hole and popping in glass—it’s a full-on project. Here’s how it all goes down, step by step:
1. Pick the Right Location
- Choose a spot with clear, safe access to the outdoors.
- Always call 811 before digging to avoid hitting buried utility lines.
Tip: If the window is going below ground level, you’ll need a window well to keep out dirt, water, and debris.
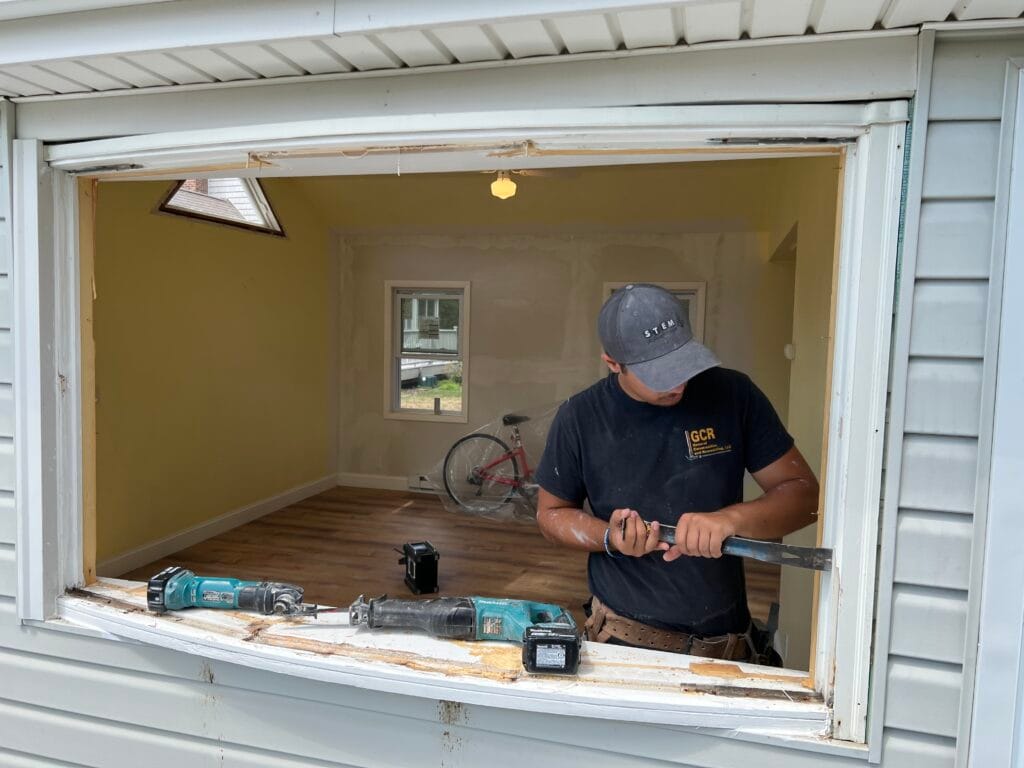
2. Mark and Cut the Opening
- Measure and mark your cut based on local building codes.
- Use a masonry saw and hammer drill to cut through the concrete or block foundation.
- Clear the area of any plumbing, wiring, or load-bearing supports.
- This step is loud, dusty, and serious business—wear protection and prep the workspace.
3. Excavate the Window Well
- Dig out space outside the wall to fit the window well.
- Go deep enough to install a drain cap and pour a gravel base for proper drainage.
Pro tip: Add a clear cover to your window well to keep out leaves, rainwater, and curious critters.
4. Install the Window Frame and Sill
- Place the window frame into the opening and level it using shims.
- Secure the frame using anchors or strong construction adhesive.
- Install the window sill with a slight downward slope to direct water away from the house.
5. Seal and Waterproof Everything
- Apply silicone sealant around all window edges.
- Use a waterproofing membrane or flashing tape around the exterior to prevent leaks.
- Planning to seal off and bury an old window? Only do so if it’s no longer required to meet egress codes.
6. Install the Window Well and Backfill
- Position the window well tightly against the foundation wall.
- Secure it with bolts or anchors as needed.
- Pour gravel around the drain and backfill the soil carefully to maintain stability.
- Double-check that water drains away properly—bad drainage now means headaches later.
7. Finishing Touches
- Open and close the window to test functionality and latching.
- Check all seals for tightness—no gaps, no leaks.
- Add a window well cover for extra protection.
- Pat yourself on the back—you just made your basement safer, brighter, and way more livable.
Egress Window Installation Costs: What to Expect

When it comes to putting in an egress window, the costs can vary quite a bit depending on how complex the project is and what kind of work your basement needs. Are you starting from scratch with solid concrete walls? Or are you just swapping out an old window? These details can swing your total price up or down.
Here’s a breakdown of what you might expect:
- Basic egress window installation
If your basement already has a suitable wall opening and you’re just adding the window and well, you’re looking at anywhere from $2,500 to $5,000. This usually includes the window, labor, and basic materials. - Cutting into concrete + installing a new window well
If your basement wall needs to be cut through (which is often the case in older homes), expect to pay more—typically $4,500 to $7,500. That’s because cutting into foundation concrete isn’t easy, and a proper window well must be installed to meet code and prevent leaks. - Replacing an existing egress window
If you’re replacing an old or damaged egress window, the cost is usually lower, somewhere around $2,000 to $3,500, since the hard part (cutting the hole and installing the well) is already done. - Waterproofing and drainage system
Want to make sure your new egress window doesn’t turn into a mini indoor pond during heavy rains? A full waterproofing and drainage system—including a gravel base and proper drain pipe—can cost $1,000 to $2,500 depending on the layout of your yard and foundation. - Window well cover (optional but smart)
While not required, a clear, durable window well cover can keep out debris, animals, rain, and snow. These usually run $150 to $600 and are a great investment in the long run.
Common Challenges (And How to Avoid Them)
Dealing with these issues early can save you time, money, and a whole lot of basement stress later on.
❌ Issue: Poor Drainage
💡 Fix: Always add gravel and a drain cap beneath the window well.
❌ Issue: Wrong Size Window
💡 Fix: Double-check your building code specs before cutting.
❌ Issue: Leaks After Rain
💡 Fix: Use waterproofing membrane and high-grade sealant. Hire pros if needed.
Need help from licensed pros? General Construction can help with both residential construction and basement window replacement.
DIY vs Hiring a Pro: What’s Better?

Credit: aquatechwaterproofing.ca
Doing it yourself might save on labor costs, but it’s not always worth the stress—especially if you’ve never touched a masonry bit in your life.
DIY Wins When
- You’re just replacing an existing basement window
- You already have the tools
- You’re confident in your skill
Call the Pros When
- You’re cutting the foundation wall
- You need a permit
- You’re unsure how to install or seal it properly
That’s where General Construction & Remodeling comes in. From cost of installing an egress window to window well installation, they’ll handle it from dig to done.
FAQs: Quick Answers to Big Questions
Q: How long does it take to install an egress window?
A: Typically 1–3 days depending on digging and foundation cutting.
Q: Can I install one in any basement?
A: Not always. You’ll need the right wall clearance and foundation wall material.
Q: Do I need a permit?
A: In most cases, yes. A professional can help with the paperwork.
Q: What’s the cheapest way to add one?
A: Converting an existing basement window that already meets code is usually cheapest.
Q: Will it affect my home’s resale value?
A: Definitely. It makes your basement a livable space—and that boosts your listing price.
Final Word
As we sum up, installing an egress window isn’t just a home upgrade—it’s peace of mind, boosted value, and safety all in one. If you’re in Rhode Island, General Construction & Remodeling has your back—from egress windows to full basement transformations. One call, and you’re covered.
TIME TO INSTALL EAGRESS!