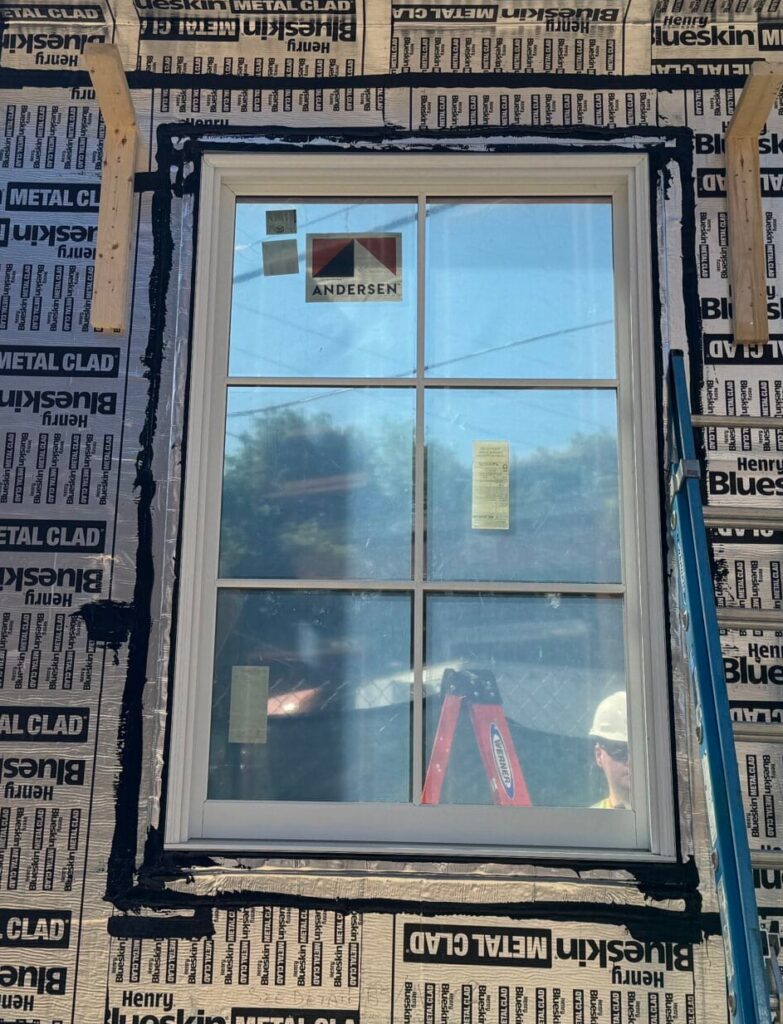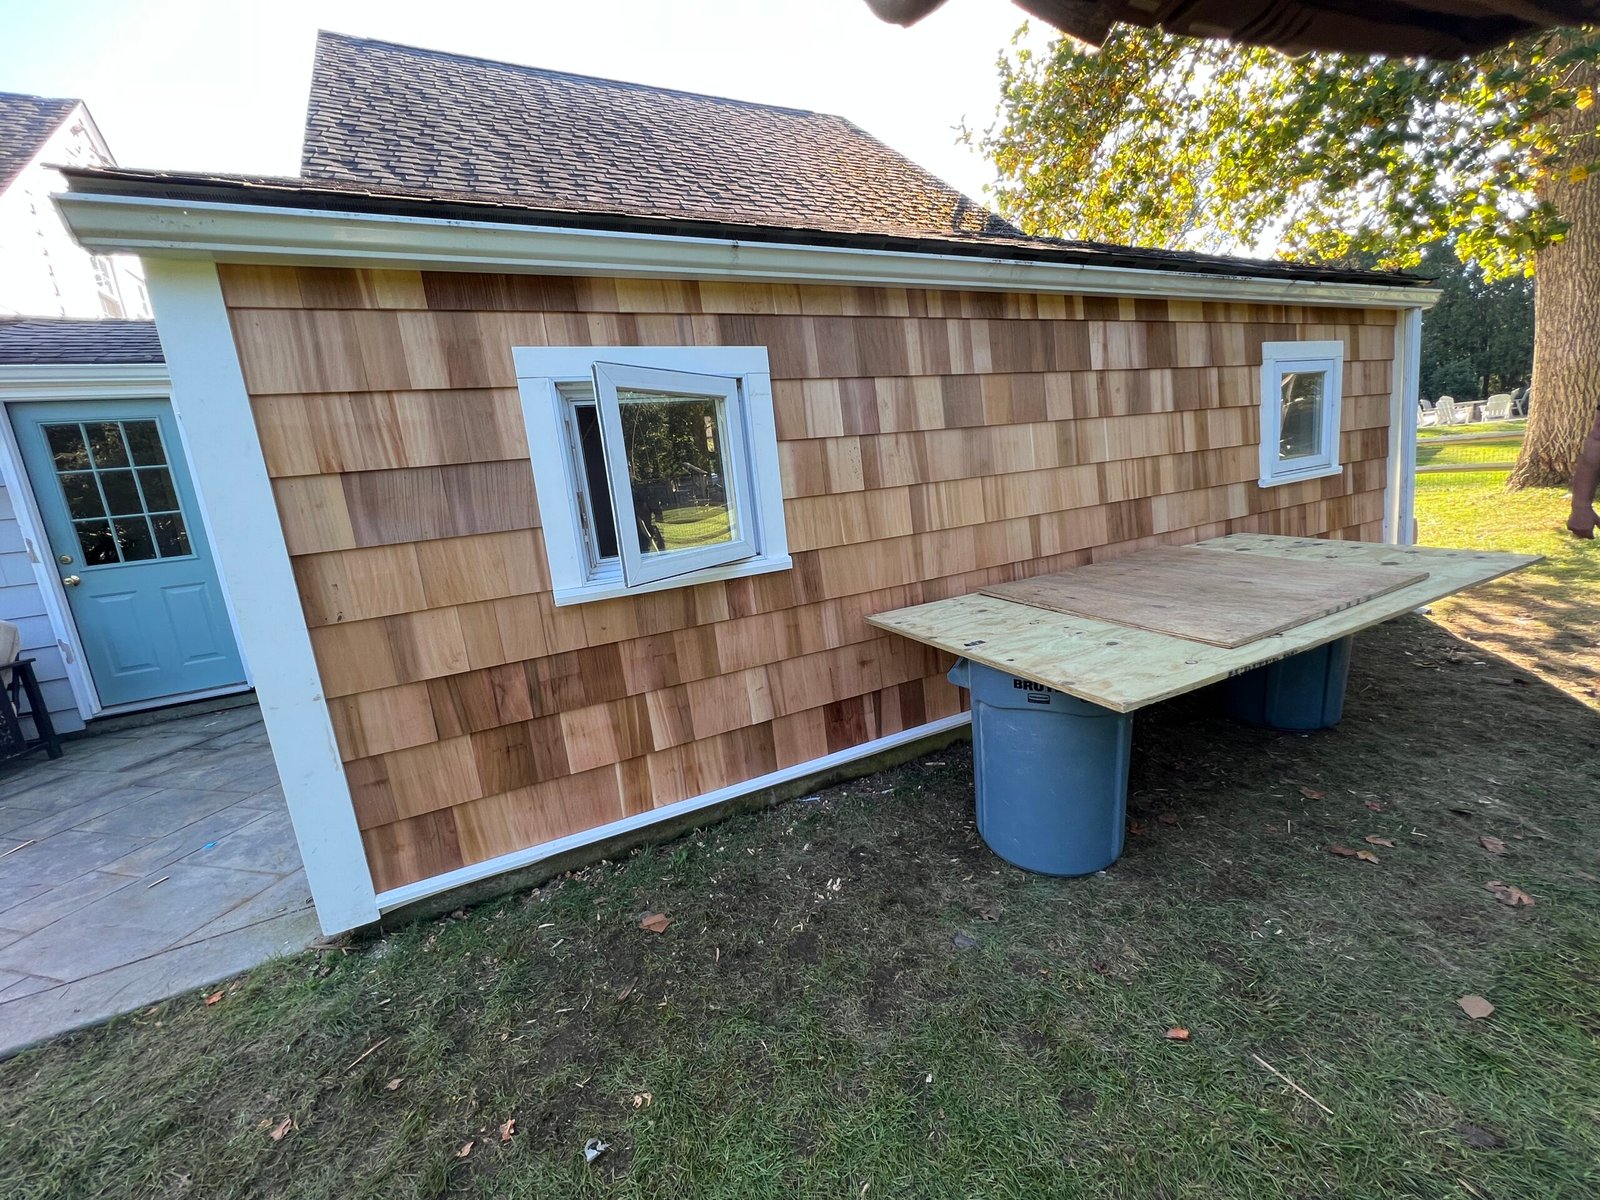
Cedar shingles are the classic New England wall. Done right, they look better every year. Done wrong, they cup, split, stain and rot, and the wall behind them gets wet. Most of the problems I find on cedar walls are not the cedar. They are how it was installed.
A quick note on names: true “shakes” are split and rough, while most of what goes on Rhode Island homes is sawn cedar shingles. People use the words interchangeably, and the installation rules below apply to both.
It Starts With the Wall Behind It
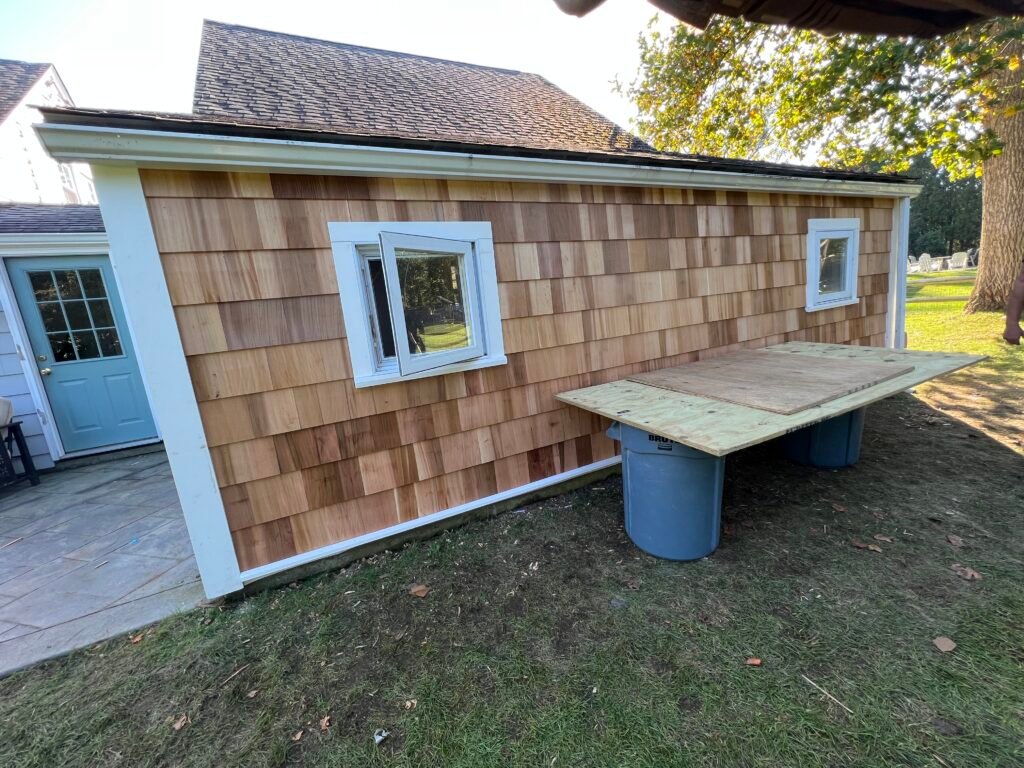
Cedar is not a waterproof layer. Water gets behind every siding, so the wall needs a proper water-resistive barrier (house wrap) lapped shingle-style, top over bottom, so water drains down and out. Cedar also needs to dry from the back. A drainage mat or rainscreen gap behind the shingles helps them dry, lie flat and hold paint or stain longer.
Flashing Is Where Walls Fail
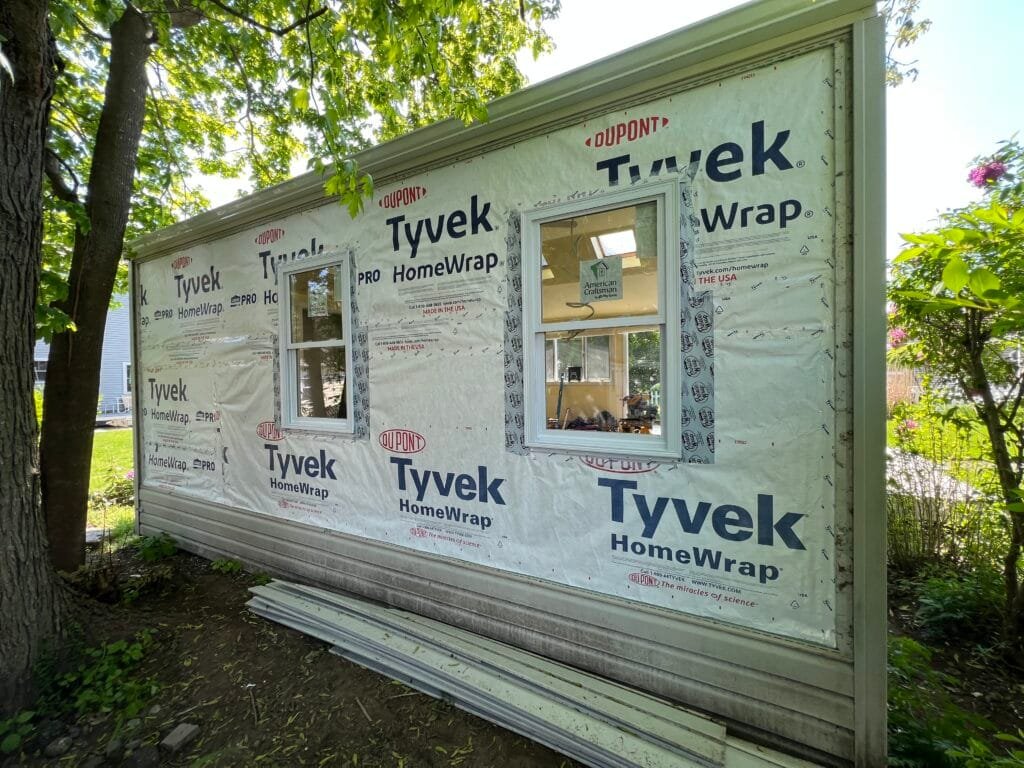
The leaks I investigate on cedar walls almost always start at a transition, not in the middle of the wall:
- Windows and doors: sill pans and flashing tape integrated with the house wrap, and head flashing over the trim.
- Roof-to-wall intersections: step flashing at every course and a kick-out flashing at the bottom so water does not dump behind the siding.
- Decks and ledgers: flashed so water cannot run into the band joist.
- Penetrations: vents, hose bibs and lights sealed with blocks or flashing, not just caulk.
Installation Details That Matter
- Start right: a doubled starter course at the bottom, with the joints offset.
- Offset the joints: keep joints from lining up course to course so water does not find a straight path in.
- Leave a small gap: cedar moves with moisture, so shingles need a slight gap between them, not butted tight.
- Use the right nails: stainless steel or hot-dipped galvanized, two per shingle, placed so the next course covers them. Wrong fasteners bleed black streaks and corrode.
- Keep it off the ground and roof: leave clearance at grade and above roof lines so the bottom courses are not sitting in water.
How Cedar Shake and Shingle Siding Is Installed, Step by Step
This is the sequence for a sidewall of sawn cedar shingles or shakes, based on the Cedar Shake and Shingle Bureau’s published installation guidance and the details that keep a wall dry.
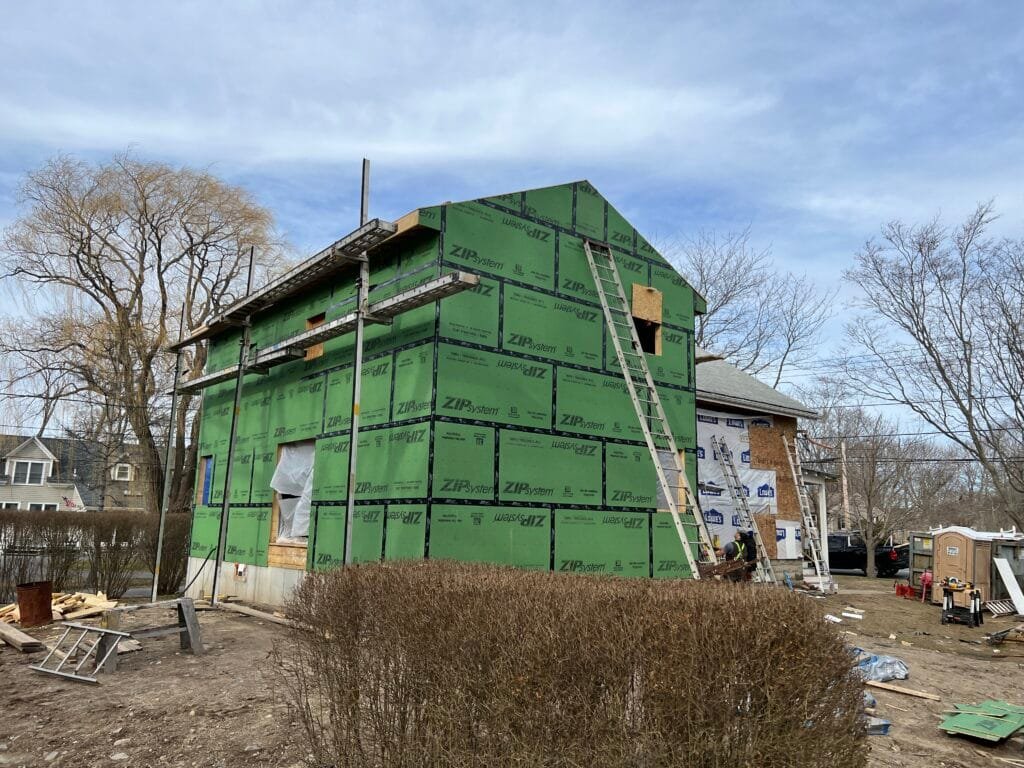
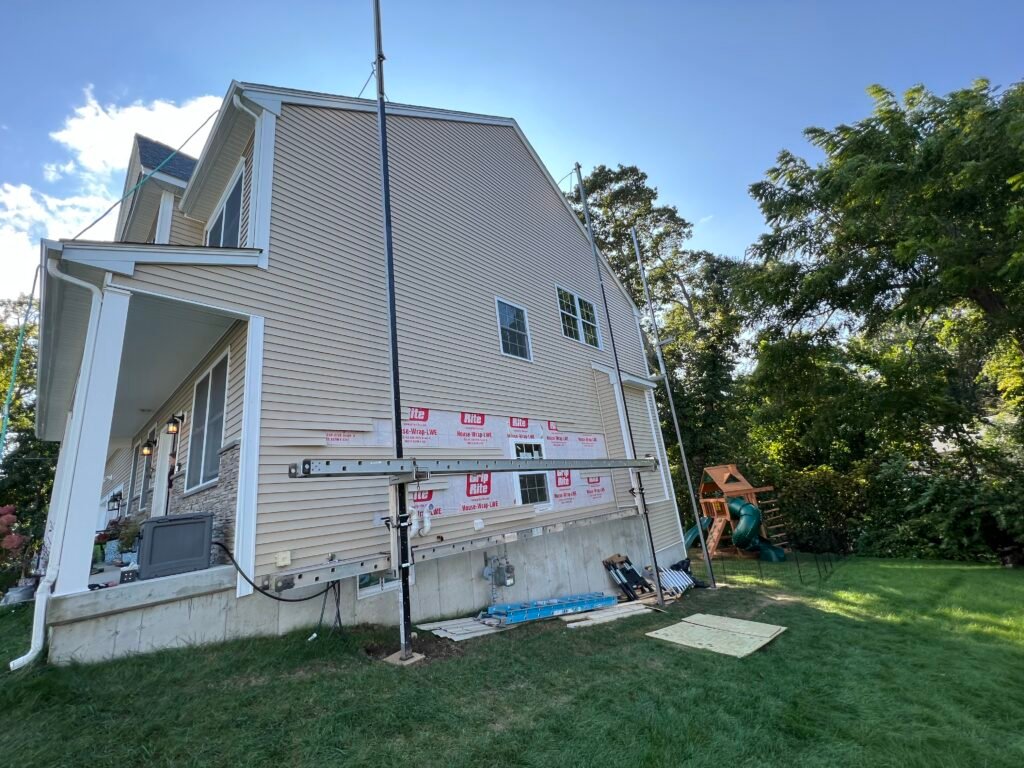
- Strip and inspect. Remove the old siding and check the sheathing. Soft or stained sheathing means water has been getting in, and the source needs to be found and fixed first.
- Wrap and flash the wall. Install the water-resistive barrier lapped top over bottom, and flash every window, door and penetration into it before any cedar goes up.
- Add a drainage space. A drainage mat or furring strips behind the shingles lets water drain and lets the back of the wood dry.
- Set the corners and trim. Install corner boards and trim, or plan woven corners, so every course has a clean edge to die into.
- Double the starter course. The first course is doubled (or tripled) at the bottom of the wall so there is always a layer behind every joint.
- Keep courses straight and the exposure consistent. Use a straightedge or snapped line for each course. Maximum single-course sidewall exposure is about 7½ inches for 16-inch shingles, 8½ inches for 18-inch and 11½ inches for 24-inch.
- Space and offset. Leave about ⅛ to ¼ inch between shingles so they can swell, and offset the joints at least 1½ inches from the joints in the course below.
- Nail correctly. Two nails per shingle, about ¾ inch in from each edge and about 1 inch above where the next course will cover. Drive them flush, not crushed into the wood. Use stainless steel (best near salt water) or hot-dipped galvanized.
- Flash the transitions as you go. Step and kick-out flashing at roof-to-wall lines, head flashing over trim, and keep the bottom course up off the ground and off roofs.
- Finish. Leave natural, stain or paint, and keep joints and trim sealed.
Shakes vs. Shingles
Shingles are sawn on both faces, thinner and uniform. Shakes are split on at least one face, thicker and more textured. Installation follows the same rules, though shakes are thicker and need longer nails.
Vinyl Cedar-Look Shake Siding
Vinyl shake panels install differently from real cedar. They hang on nails driven in the center of the nailing slots, left slightly loose so the panel can expand and contract. The same house wrap and flashing rules apply behind them.
Stain, Paint or Natural?
Natural cedar weathers to gray and is the lowest maintenance up front. Stain and paint protect the wood and hold color, but they need to be maintained. Whatever you choose, back-priming or factory-finished shingles, and keeping caulking and paint up at joints and trim, is what keeps moisture out of the wood. If you are repainting, read how paint and caulking prevent moisture damage.
Repair or Replace?
Scattered split or loose shingles can usually be replaced individually. If you are seeing widespread rot, staining that keeps coming back, or soft sheathing behind the shingles, that is a sign water is getting into the wall, and the cause needs to be found before new siding goes on. That is exactly the kind of thing I evaluate as a building envelope consultant.
Cedar Shake Installation FAQ
How many nails go in each cedar shingle?
Two, about ¾ inch from each edge and about 1 inch above the line where the next course covers them, so the nails are hidden.
How much gap do cedar shingles need?
About ⅛ to ¼ inch between shingles. Cedar swells when wet, and shingles butted tight will buckle.
Can cedar shingles go straight over house wrap?
They can, but a drainage mat or rainscreen gap behind them helps the wood dry, lie flat and hold finish longer.
Can you install new cedar over old siding?
We do not recommend it. Taking the old siding off is the only way to see and repair the sheathing and flashing behind it.
What We Do
We install cedar shingles, vinyl and fiber cement in Rhode Island. On every job the old siding comes off, damaged sheathing is repaired, the wall is wrapped and flashed, and then the new siding goes on.
Planning new siding?
Siding in Rhode Island · Siding pricing · Financing · Call 401-919-1795