I understand that terms like siding, roofing, and flashing might sound a bit alien at first. Most of us just think about the house as a whole, not the layers that protect it. And yeah, talking about things like “metal panels” or “J-channels” might not be the most exciting conversation at dinner. But here’s the thing—it’s incredibly important. The right siding doesn’t just make your home look great; it shields it from wind, rain, pests, and time itself. So if you’ve ever thought, “Is this really something I need to care about?”—the answer is a big yes. And the good news? It’s not as complicated as it sounds. With the right guide and a little effort, installing metal siding can be an easy and rewarding DIY project. Let’s break it down and get you started on transforming your home’s exterior.
💡 What Is Metal Siding?

Credit: westernstatesmetalroofing.com
So first, let’s get clear on what we’re working with.
Metal siding is a type of siding material made from metal sheets—usually steel or aluminum—that are fastened to the exterior walls of a home. It’s tough, weather-resistant, and surprisingly stylish.
Here’s how it works:
- Panels are made from corrugated metal, ribbed steel, or smooth aluminum.
- They’re installed vertically or horizontally, depending on the design.
- These siding panels serve as a barrier against moisture, pests, and wear.
- It often gets installed over house wraps and sometimes furring strips for added insulation and leveling.
Now that you know metal siding boosts curb appeal and protects your home, why wait? Let the best in town handle it! At General Construction & Remodeling, we specialize in durable, professional siding installation. Reach out today—we’re ready to bring your vision to life!
The Good Side of Installing Metal Siding
Still wondering why people are so into installing steel siding? Here’s what makes it a great choice:
- Durable as heck – It can last 40 to 70 years!
- Low maintenance – No rotting, peeling, or repainting.
- Fire resistant – Huge win for safety.
- Eco-friendly – Recyclable and often made from recycled metal.
- Sleek design – Especially when you install vertical metal siding, it just looks sharp.
- Reflective – Helps regulate temperature by reflecting sunlight.
The Not-So-Great Side of Metal Siding
I get that while metal siding installation is awesome for many homes, there are some drawbacks to think about:
- More expensive upfront than vinyl siding.
- Dents easily, especially if you’re using aluminum.
- Can be noisy in the rain or during hailstorms.
- Trickier for beginners, especially for first-time DIYers figuring out how to install steel siding.
How to Install Metal Siding (Like a Pro)
https://youtu.be/KG8Ue6H504E?si=4NIGB0-e2SZhEeZx
If you’re ready to roll up your sleeves, here’s your complete metal siding how-to install game plan.
This is your full installation guide, broken down into easy, manageable steps. Whether you’re working on a barn, a shed, or your main home, here’s how you do it.
Tools and Materials You’ll Need
Before starting, gather all your siding installation essentials.
Tools
- Power drill/screw gun
- Tin snips
- Chalk line
- Level
- Measuring tape
- Ladder or scaffolding
- Caulk gun
- Safety gloves & goggles
Materials
- Siding panels (steel, tin, or aluminum)
- Starter strip
- Install J-channel and corner trims
- Furring strips
- House wrap
- Screws (specifically for metal siding installation)
- Flashing
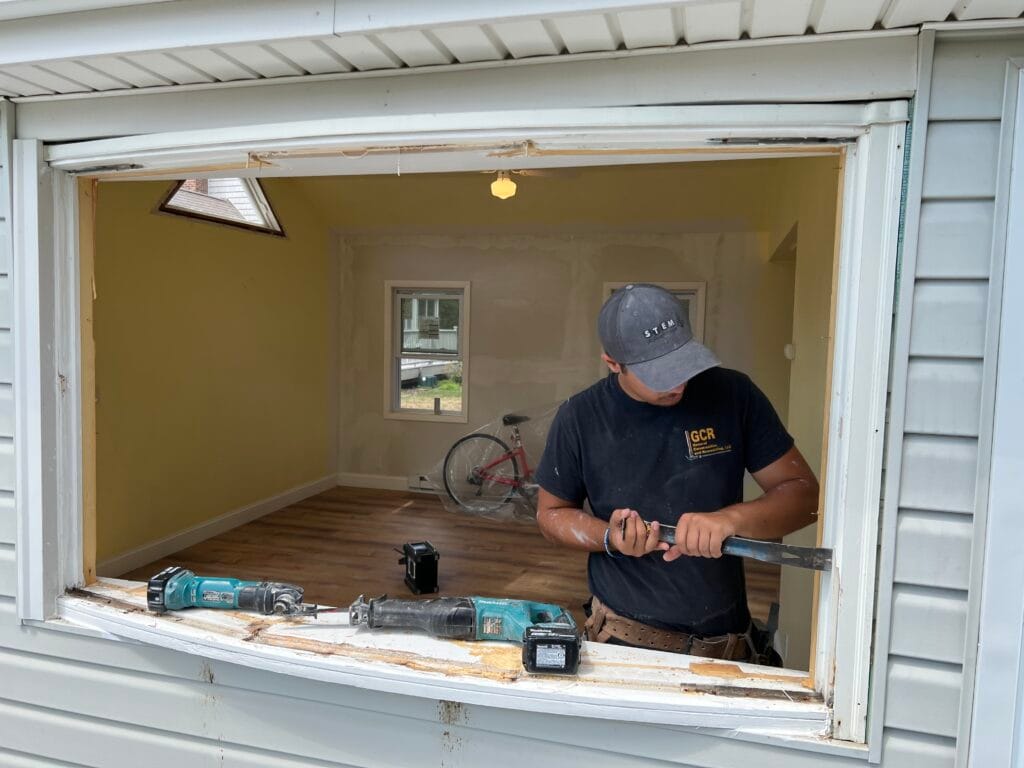
Step 1: Prep the Wall Surface
Before you even think about putting up metal siding, you’ve got to make sure the wall underneath is solid, smooth, and ready to go. Think of it like painting—you wouldn’t slap fresh paint on a dirty, cracked wall, right? Same deal here. This prep work sets the stage for how well your siding will sit and last.
- Remove old siding materials and nails.
- Repair and level the sheathing underneath.
- Install house wraps to add a moisture barrier.
- Attach furring strips if your surface is uneven or made of brick.
This creates a clean, dry, and level area—perfect for installing metal siding.
Step 2: Map Out the Layout
This is where you start turning ideas into action. A little planning goes a long way when it comes to installing metal siding. If your measurements or layout are off, it’ll show, especially with vertical metal siding. So take your time here and double-check everything.
- Use a chalk line to mark where the starter strip will go.
- Measure your walls and lay out where each siding panel will be.
- Make sure trim pieces like the J-channel and corner line up evenly.
Step 3: Install the Starter Strip & Trim
Alright, now we’re getting into the real action of your metal siding installation. You always start from the bottom and build your way up. This step is about locking in your foundation—literally. Getting the starter strip and trim right makes everything else easier and keeps water out where it doesn’t belong.
- Attach the starter strip along the base of your wall.
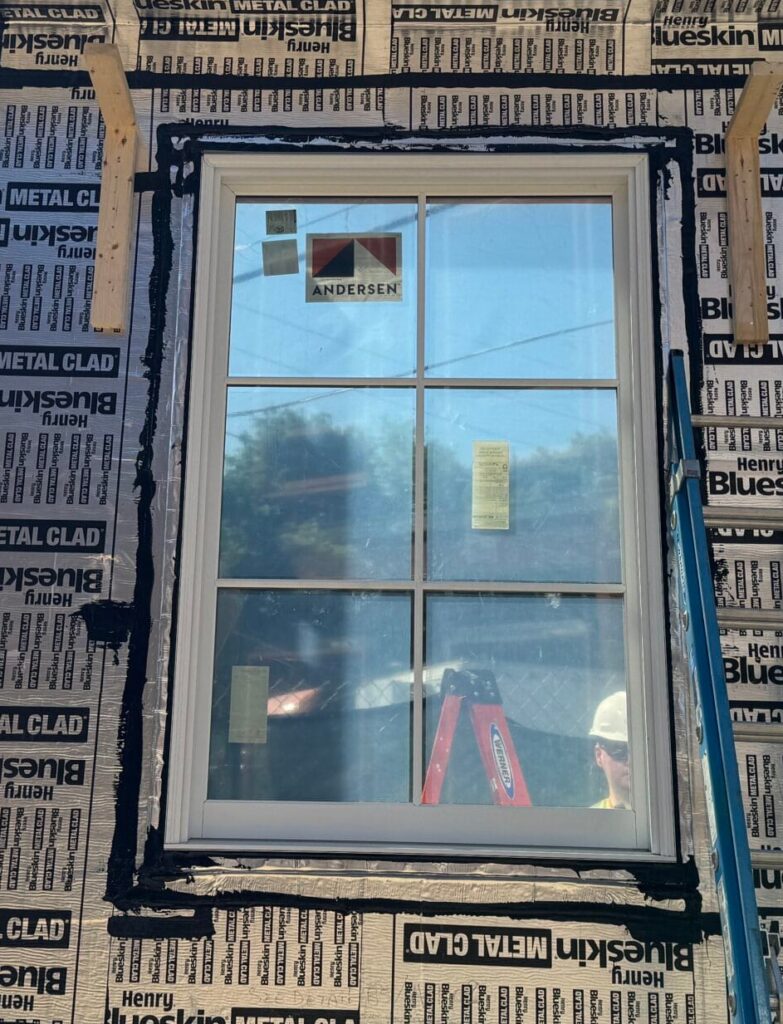
- Install J-channel around windows, doors, and other openings.
- Add inside and outside corner trims.
These trim pieces lock your siding panels in and keep moisture out.
Step 4: Hang the Metal Panels

Credit: classicmetalroofs.com
Now for the fun part—you’re actually starting to install steel siding (or tin siding or aluminum, depending on what you’ve picked). This is where your house starts to transform. But don’t rush it! Proper alignment and spacing are key, especially with vertical siding, where small errors are super noticeable.
- Start from one corner and work outward.
- Slide the panel into the starter strip.
- Make sure it’s level.
- Screw it in every 12–16 inches, but don’t over-tighten (metal needs room to expand and contract).
- Overlap the next panel and continue.
Tip: If you’re going for a vertical siding look, be extra precise—slight misalignments will be visible.
Step 5: Flash and Seal
This part is all about protection. Water is sneaky—it’ll find its way in if you don’t block every possible path. So once your metal siding installation is up, seal it tight. Proper flashing and caulking prevent leaks that could cause major damage later.
- Apply flashing over windows, doors, and roof-to-wall intersections.
- Use weather-resistant caulk to seal all joints and edges.
- Double-check your corners and trims.
Step 6: Finish Up
You’re almost there! The panels are up, the lines are clean, and your house is looking sharp. Now it’s time for a little cleanup and final check. These finishing touches make your siding installation look polished and last longer.
- Check that all screws are tight (but not too tight).
- Cover any small scratches with touch-up paint.
- Wash the panels down to remove dust or fingerprints.
Boom—you just learned how to install metal siding like a pro.
However, if you need expert help with your metal siding project, we’ve got you covered. At General Construction & Remodeling Services, we bring years of experience and a proven track record of success. Just give us a call, tell us what you need, and we’ll take care of the rest—quick, professional, and built to last.
📞Get in touch with us.
Factors That Affect Metal Siding Installation Cost

Why does the price vary so much? Let’s break it down.
- Type of metal – Steel siding costs more than aluminum.
- Panel style – Fancy profiles or corrugated metal come with a premium.
- Panel orientation – To install vertical metal siding, you’ll often need more planning and support.
- Trim requirements – More corners = more trim = more cash.
- Labor choice – DIY is cheaper but takes time and effort.
- Wall condition – Damaged sheathing or uneven walls mean more prep work.
- Climate – Regions with harsh weather may require special coatings or sealants.
There you go, this guide has everything you need to know about metal siding. However, if you are interested in exploring other types of siding, check out this article. It covers every popular type in detail.
Wrapping It Up
So, folks, there you have it—your full metal siding installation guide in plain, simple terms. And remember, like any big DIY job, it’s okay to take your time. Measure twice, cut once. If you ever feel unsure, just refer back to this guide. It’s here to help you nail every step.
Got questions? Want help picking out the right tools? We’re just a message away.